Dicrections for vinyl letter application
1. Make sure ther surface where the lettering will be applied is clean, dry & smooth.
2. Place the lettering right side up on a table, then with an edge of a credit card or popsilce stick rub over each letter. *(This will make the next following steps much easier.)
3. While holding the lettering in yours hands you will be seperating the 2 layers...
There is a top layer (tape layer) & a bottom layer, seperate the two carefully & slowly. The letters should adhere to the top layer (transfer layer). If the letters remain on the bottom layer, replace the top layer on that letter & repeat rubbing it until all letters remain on the top layer when reseperated again. The lettering should all be on the top piece. (Making sure it does not touch anything in the process, as it is sticky.)
4.Take the tape layer with the letters & place it on the item to which you are applying it to.
5. Once evenly in place, firmly rub over the letters with your hand or application stick.
6. Starting with a top corner, in a downward & across motion, peel off the tape layer while leaving the letters on the wall.
7. As before, if the letters remain on the tape layer, lay the tape layer back down then re-rub over the letter with application stick & peel back again until all letters remain on the surface to which you are applying it to.
Tips:
Smaller or thinner fonts may require more time to apply, remove these slowly to prevent tears or ripping.
Premeasuring & marking where you want the letters before hands prevents any uneven or uncentered applications.
Removal Tips:
For removal you can pick letters off carefully with tweezers.
To prevent paint from peeling, slight heat with hair dryer on warm for a few seconds.
To remove any remaining adhesive from the wall once letters are off, use goo-gone or rubbing alcohol. This is more likely to happen on glass or window surface.
skip to main |
skip to sidebar


Groopdealz
Check out the latest trend in Home Decor....
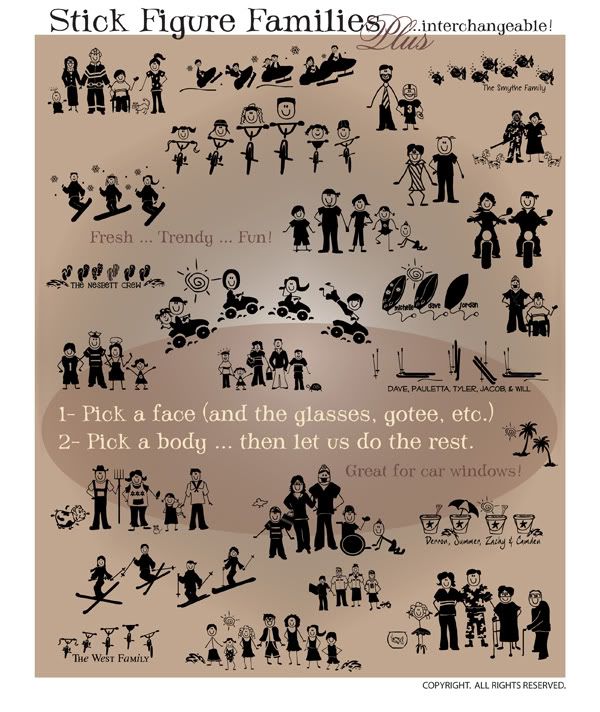
New Stick Figures
Graphics Collection (predesigned quotes)
Grab my Button

About Me
Followers
Please excuse the mess, we are in the middle of a makeover again....
- Decal Tabs, click
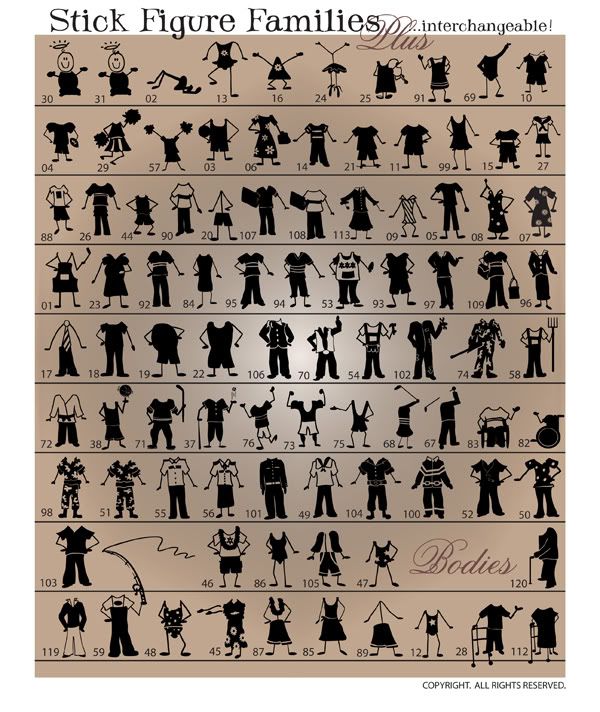
- Stix Family Ideas
- Stix Faces
- Stix Bodies
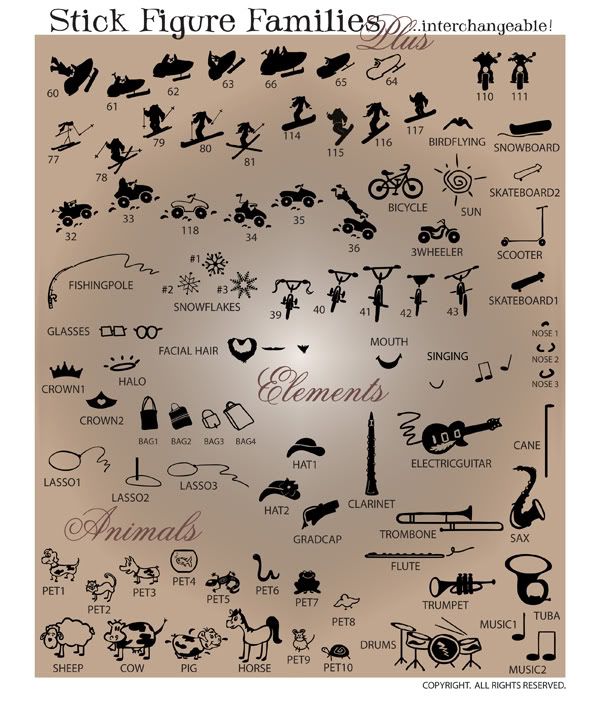
- Stix Elements
- Stix Add Ons
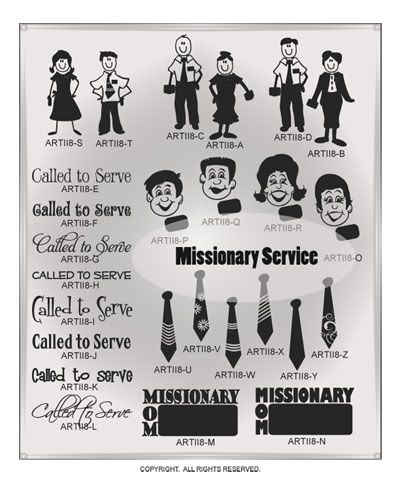
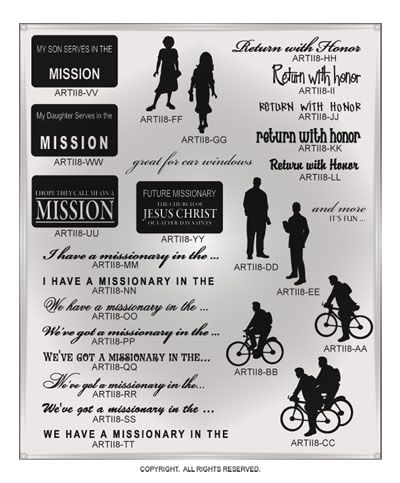
- Stix Missionaries
- Stix Missionaries 2
- Ornate Initials
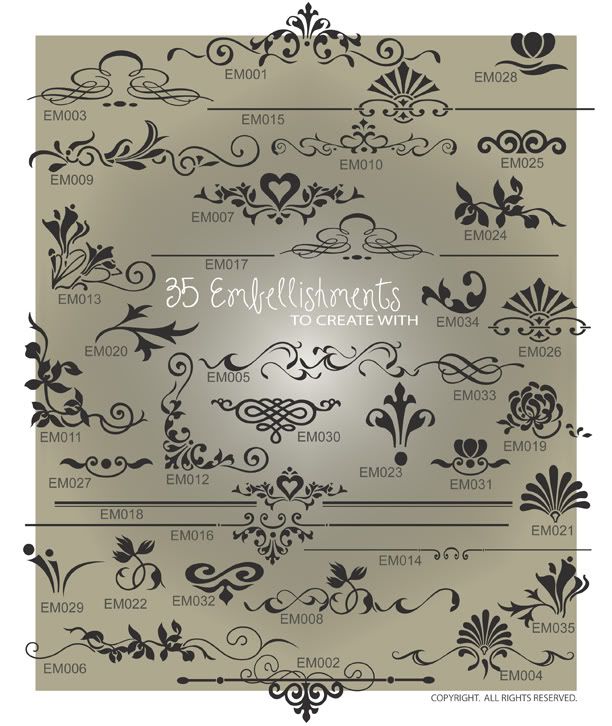
- Embellishments
- Embellishments 2
- Decorative Circles
- Frames & Borders
- Fabulous Fall
- Spookville
- Christmas
- Winter & Val Day
- Green Day & Easter
- Springtime
- Summertime
- Ma & Pa Day
- Boom Boom Day
- Flowers
- Garden
- Weather
- Calender Mix
- Calender Mix 2
- School Stuff
- B-day
- BarBQ & Foods
- Wedding
- Baby
- Girly
- Boyish
- Sports
- More Sports
- Animals
- Western,
- Words 1
- Words 2
- Words 3
- Pricing & Getting Started